
How to Stain Your Door
Therma-Tru Benchmark fiberglass doors in our Mahogany Collection and Oak Collection look and feel like wood doors — and can be stained just like a wood door. So they’re a great way to add warmth and character to your entrance. Choose one of our beautiful pre-stained options, or stain it yourself to perfectly match your existing trim or other exterior accents.
Here’s how to get the best results when staining your door. For full instructions, download our Fiberglass Finishing Guide.
Staining Your Benchmark Door


Storage and Handling
-
Until you’re ready to stain, store your door or sidelite flat, on a level surface, in a dry, well-ventilated area. Cover it loosely.
-
Be careful not to subject your door or sidelite to extreme conditions like heat, cold, moisture and humidity.

Gather Materials You’ll Need
-
A lint-free cloth and mineral spirits for cleaning entire door unit
-
Pre-mixed stain (1/2 pint) and mineral spirits (4 oz.)
-
Clear topcoat (20 oz.)
-
3” China bristle brush
-
Two clean cotton rags
-
One pair protective gloves
-
Two stir sticks
-
Two door “skin samples” (samples of the door material)
Prepare the Surface
-
Hang the door unit before finishing, then remove hinge pins and remove the door slab to finish properly. Lay the door horizontally on padded saw horses or a table.
-
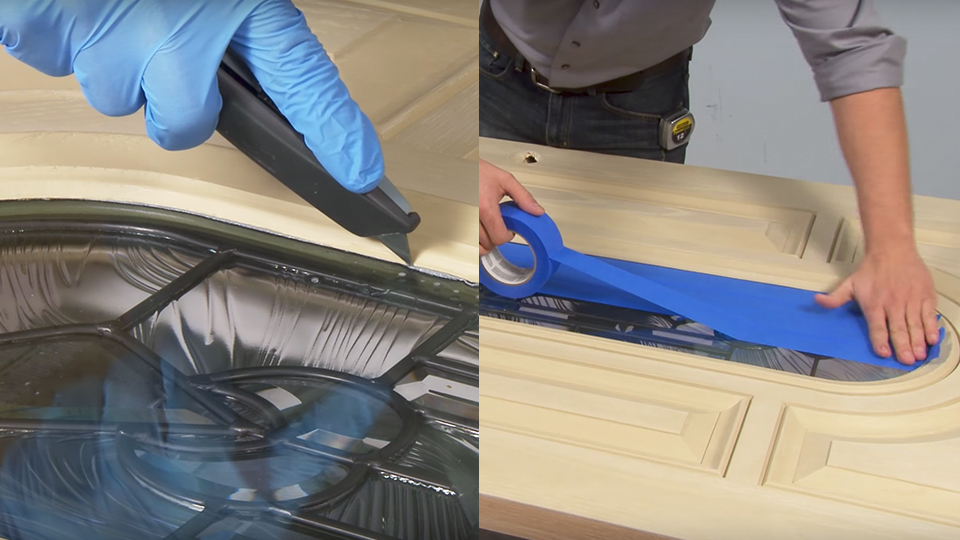
Remove any excess glazing sealant by first spraying with a window cleaner or water. Then carefully use a single edge razor blade at a 45 ̊ angle to scrape glazing from glass along the edge of the frame. Do not sand fiberglass.
-
Remove all hardware and mask off anything you don’t want finished, such as the glass insert.
-
Wipe the door with mineral spirits or all-purpose cleaner to clean any dust or residue from surface. Allow it to dry before applying stain.
Stain the Components First
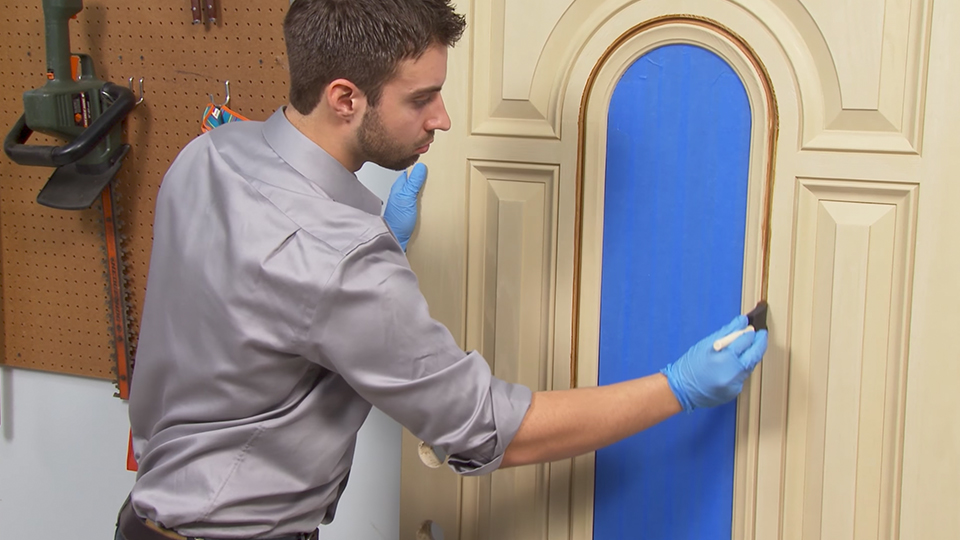
- Components are the door edges, mullions, astragals, brickmould, and wood frame/jamb. These wood components may be primed white, but will accept stain.
- Stain by lightly wiping first with a stain-saturated rag. Then use a dry 3” bristle brush to blend stain evenly on wood components.
-
More stain may be applied later to darken the component, if needed.
Stain the Door
-
Practice on one skin sample first (light, medium or dark finish).
-
Stir the stain well. Dip the stain cloth in stain.
-
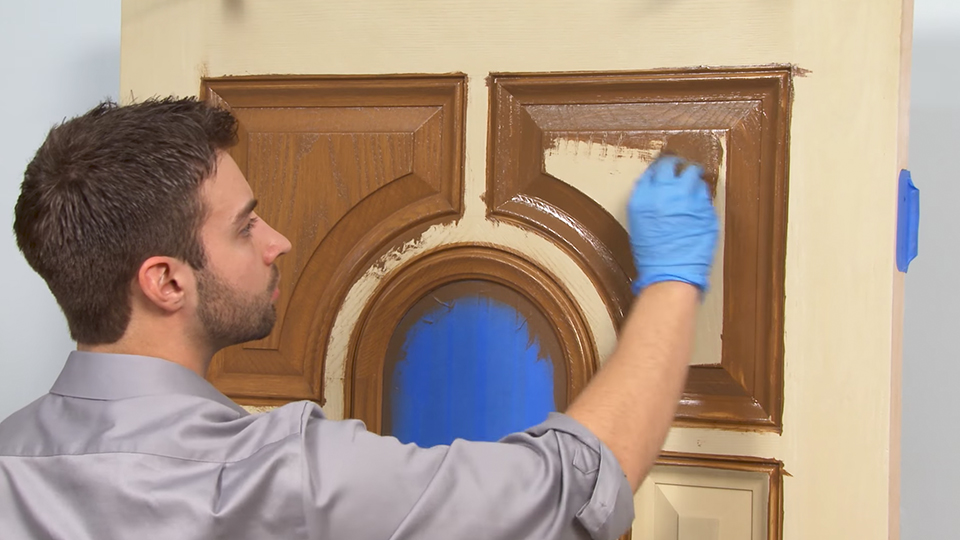
Rub stain on door in circular motion to get pigments into the grain. Wait before brushing. The longer the stain is left to set up before brushing, the darker the color will become.
-
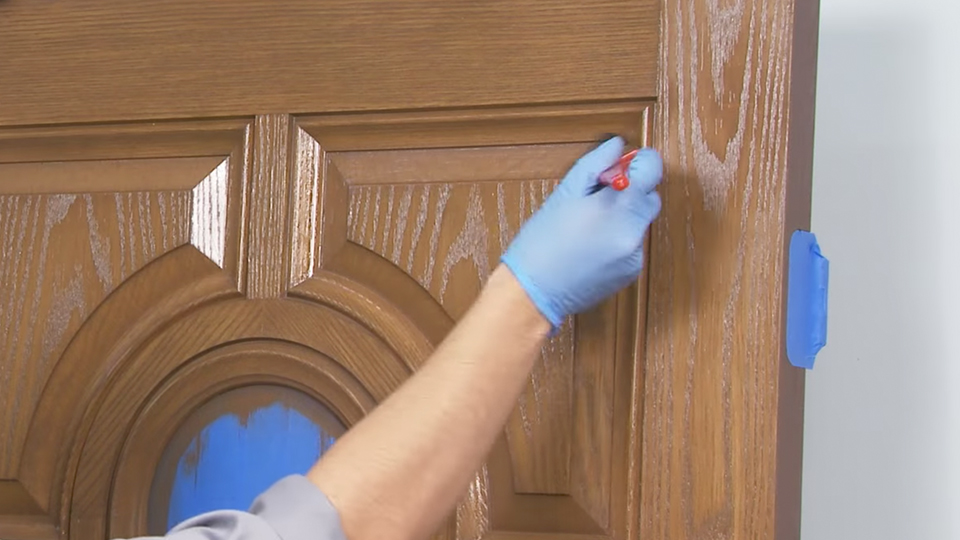
Brush gently with long sweeping motions using dry brush in the direction of the grain. Use brush tips to gently move the stain into corners.
-
Frequently remove excess stain from your brush with a clean cloth, as you are brushing.
-
Stain second skin sample and let dry in same conditions door is drying; this will be used for a test of dryness later.
Apply the Topcoat
-
Allow stain to dry at least 48 hours. Stain must be completely dry before topcoat is applied. Use the second skin sample to test for dryness, as outlined in the full instructions.
-
When you’re certain the stain is dry, stir the topcoat well. It should be milky in appearance.
-
Apply a thin first layer with the brush. Do not overbrush.
-
Wait 3–5 hours for the first layer to dry. Do not sand between coats.
-
Apply a second thin layer of topcoat with the brush. Surface should look wet but not milky. (Topcoat your stained sample, too, so you’ll have it for maintenance checks later.)
-
Wait 3–5 hours for the second layer to dry or until dry to the touch.

Important Tips
-
All it takes is one rainy day to ruin an unfinished door unit. All doors/sidelites/jamb materials must be properly finished in accordance with these instructions immediately after installation or before any exposure to the elements or your warranty will be void.
-
All exterior finishes must have ultraviolet (UV) inhibitors.
-
Choose compatible finishing products from the same manufacturer for best results.
-
Finishes should be applied in accordance with manufacturer’s instructions.
-
All 6 sides of door slab should be finished equally. NOTE: If you purchased a prehung door unit, the bottom edge of the door was pre-sealed at the factory.
Use Caution
-
When applying primer or stain, be sure the working area is well ventilated. Keep materials away from heat and flame.
-
Stain may cause skin and eye irritation. Avoid contact with skin and eyes, and keep materials out of reach of children.
-
Remember to properly dispose of all waste and soiled rags according to your local, state and federal environmental laws.