How to Install Your Door
You’ve got your Therma-Tru Benchmark door and you’re ready to put it in place. Or you’re still shopping and wondering if you want to do the install yourself. Either way, this overview will help you understand the major steps to installation. For more details, download our full Installation Instructions.
And if you have questions? No need to guess. Just call us at 1-866-584-3668.
Installing Your Benchmark Door


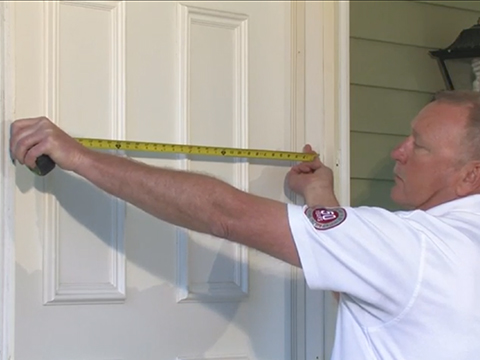
Prepare Opening
As you get started, look over your door unit. Make sure your rough opening is large enough. Mark the locations and pre-drill screw holes. Be sure that the framing and walls are straight and that the floor is level and solid. The door should open and close easily and not drag on carpeting or floor coverings. If you discover any issues now, stop and address them before going further.

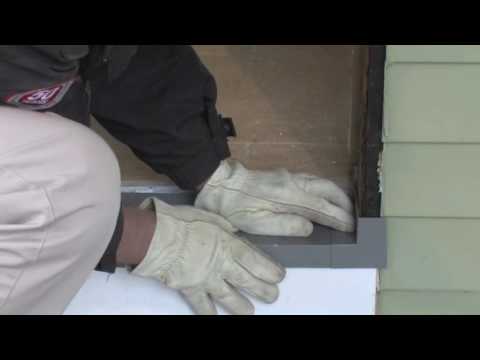
Caulk the Sub Floor
Apply sealant to the floor beneath the door opening, affixing any sill pan, sill extender or brickmould you may be using. Be sure to use at least an entire tube when caulking along the sub floor, and follow sealant manufacturer’s instructions.

Place Unit in Opening and Temporarily Fasten
With the help of an assistant, lift the unit up. With top edge tilted away from opening, center the unit and place sill down onto the sill pan or caulk beads, then tilt into the opening. Partially drive screws into the jamb at the hinge locations just enough to mark the correct locations for the screws. Your procedure will vary if you have sidelites or double doors, so be sure to follow the full instructions closely.

Secure Hinge Jamb(s), Adjust Frame and Fasten
Shim above screws, behind each hinge location, between the opening and the jamb. Use a 6-foot level to ensure the hinge jamb is plumb and straight. Finish tightening the hinge screws. Make frame adjustments, check margins and ensure even weatherstrip contact down each side of the door and across header jamb. Partially drive screws in the center pre-drilled hole locations on both jambs to temporarily secure the unit in place. After re-checking that the entire unit is plumb and square, with an even weatherstrip contact, finish driving screws tight.

Hinge Screw Frame Anchoring
Open and close door to check for smooth operation. Install lockset hardware. Make any adjustments now to ensure uniform spacing around the door before proceeding. Drill appropriate holes into the top hinge according to instructions, and complete for all the remaining hinges.
Be sure to check the full Installation Instructions for providing additional frame anchoring depending on your configuration. Certain states or jurisdictions, notably Florida and the coast of Texas, have specific installation requirements. For those, refer to the specific product approval installation instructions.

Adjust Sill
To test, place a dollar bill over the threshold and close the door. Pull on the dollar bill. If adjustment is correct, there will be some tension on the dollar bill as you pull. If the dollar bill tears, the sill is too high. If there is no tension on the dollar bill, the sill is too low. Adjust the sill and repeat the test until you’ve got it right.

Install Corner Seal Pads (Inswinging Units Only)
Apply a bead of sealant at the joint where the threshold cap meets the door jambs. Remove the self-stick paper from the corner seal pads and apply to the door jamb, with the bottom lined up evenly with the top of the threshold cap.

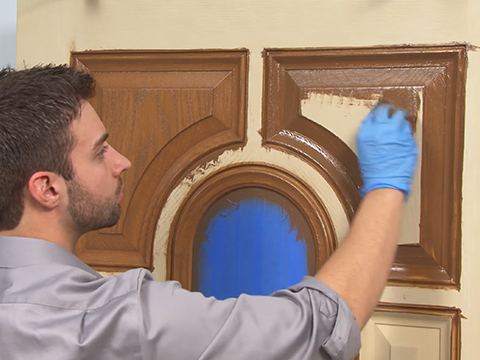
Caulking and Finishing
The final installation tasks are caulking and painting or staining your door. Refer to the full Installation Instructions to understand the variations for different door configurations. See our painting or staining instructions for more guidance on finishing your door.